
GCP Service Account Setup Guide
Method: Cloud Shell (recommended)
Get Your GCP Credentials
3:32Video: Get Your GCP Credentials (3:32)

If you have not downloaded your deployment variables file yet, this is a good time to do it.
Choose Azure or GCP below. In this platform, you can either enter variables manually, one card and one field at a time, or use bulk mode. In bulk mode, you fill this template as you go and later paste everything into one textarea, and the platform will sort and validate the variables for you.
If you prefer, you can also copy the templates directly from the Azure bulk format page or the GCP bulk format page.
Deployment target
This guide creates a Google Cloud deployer Service Account for Otoshek. We use Google Cloud Shell so you don't need anything installed locally.
You'll need a Google Cloud account to get started. Signing up is free, and Google includes USD 300 in credits for new customers, plus 20+ products with a free tier. Since we only provision infrastructure that falls within the free tier, your setup will stay free even after the credit period—unless you later choose to upgrade.
What we're setting up
What We're Setting Upexpand_more
Copy these placeholders; fill them as you go:
GOOGLE_CREDENTIALS=GCP_PROJECT_ID=GCP_PROJECT_NUMBER=SERVICE_ACCOUNT_EMAIL=
Prerequisites
- Navigate to cloud.google.com and click the Start Free button. You'll be prompted to sign in with your Google account and provide a credit card. Your card will not be charged — it is required only to verify your identity and in case you later choose to upgrade or scale up.

Google Cloud Start Free buttonClick to enlarge ↗ - Once your account is set up, you will be placed in your free trial. You now have access to the Google Cloud Console.
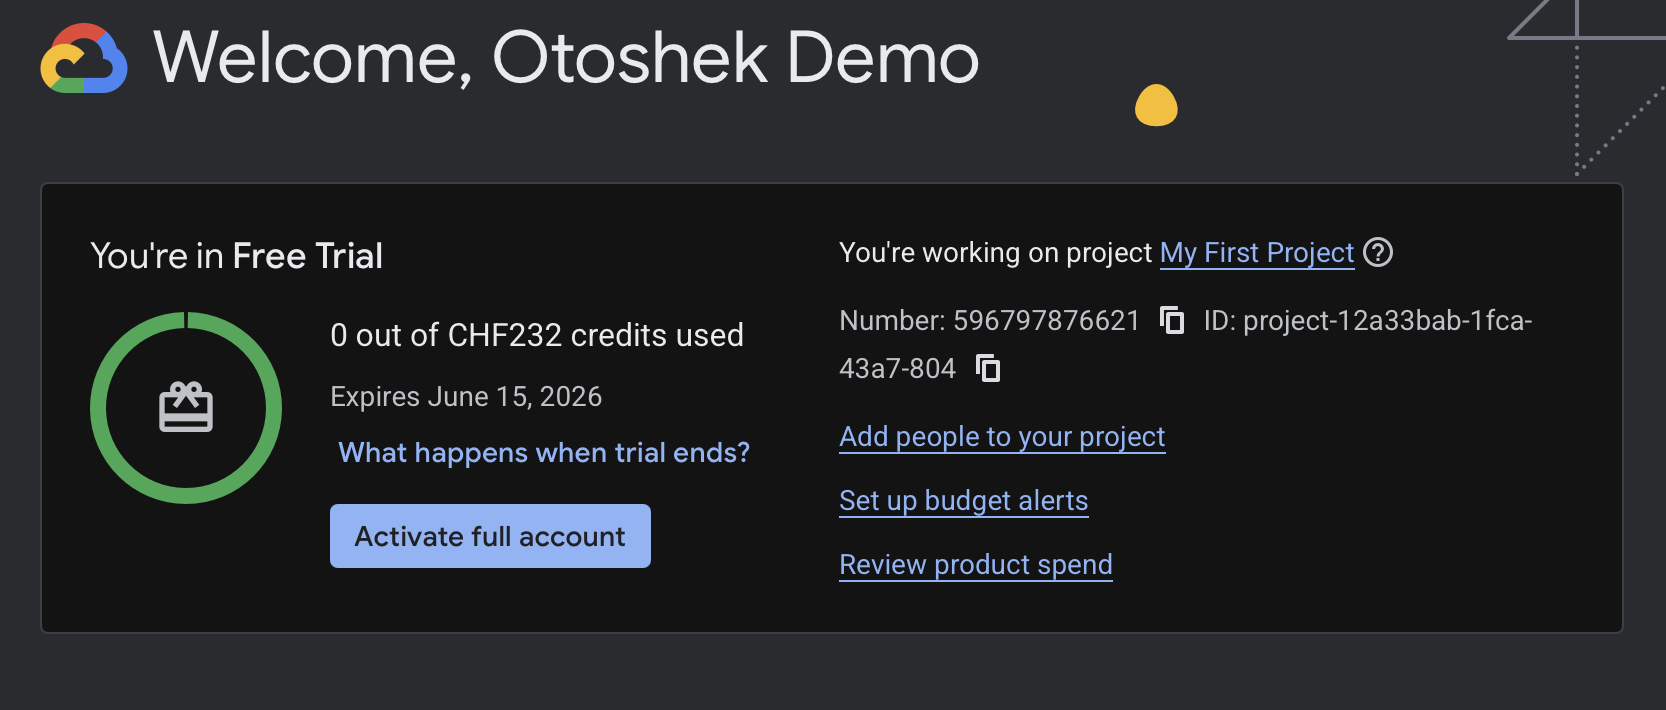
Google Cloud free trial activatedClick to enlarge ↗ - Navigate to cloud.google.com. In the top navigation banner, click the Console button to open the Google Cloud Console.

Google Cloud console linkClick to enlarge ↗ - Click the Cloud Shell icon in the top-right toolbar.

Google Cloud Shell linkClick to enlarge ↗ - Cloud Shell will open at the bottom of your screen. Type your commands in the terminal prompt shown below.
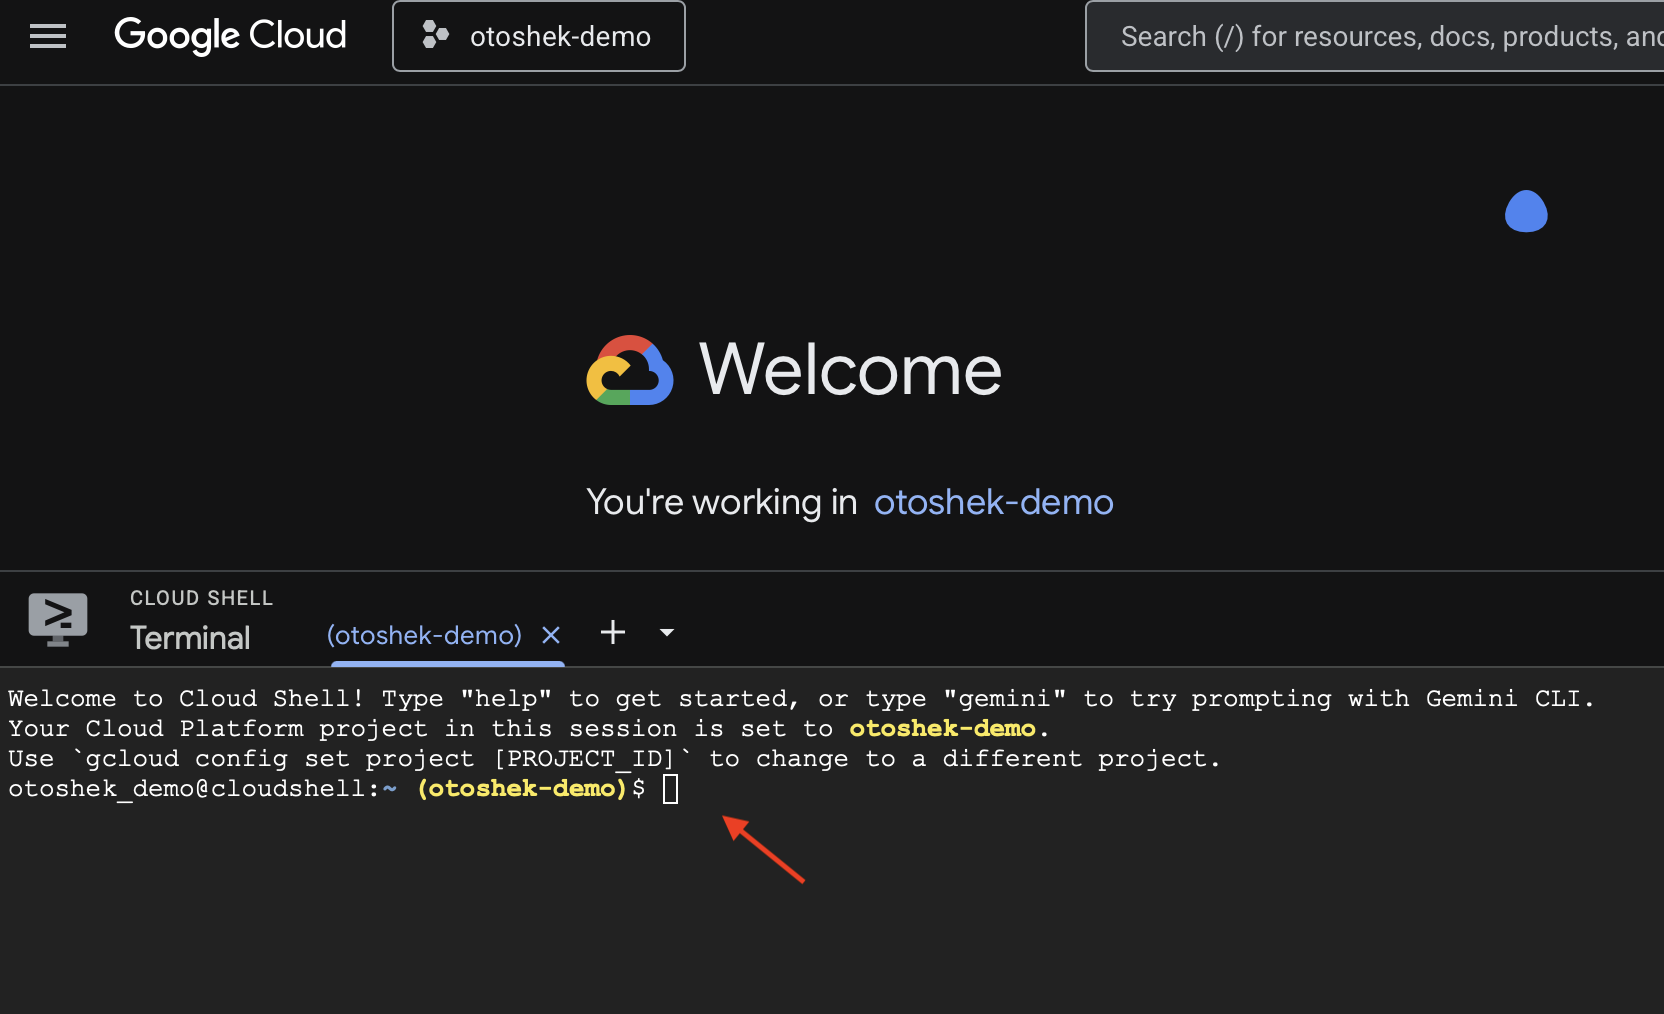
Google Cloud Shell terminalClick to enlarge ↗
Create a GCP Service Account with Cloud Shell (The Easiest Way)
Google Cloud Shell is a browser-based command-line environment built directly into the Google Cloud Console. There's nothing to install, and it's already authenticated to your account.
01Initialize variables
export PROJECT_ID="${DEVSHELL_PROJECT_ID:-$(gcloud config get-value project 2>/dev/null)}"
export SA_ID="otoshek-tfc-deployer-2"
PROJECT_ID is automatically detected from your Cloud Shell session. You can freely change SA_ID to any name you prefer — it will become the service account's identifier in your project.
02Select project and derive identifiers
gcloud config set project "$PROJECT_ID"
export PROJECT_NUMBER="$(gcloud projects describe "$PROJECT_ID" --format='value(projectNumber)')"
export SA_EMAIL="${SA_ID}@${PROJECT_ID}.iam.gserviceaccount.com"03Enable required APIs
echo "Enabling required Google Cloud APIs..."
gcloud services enable iam.googleapis.com iamcredentials.googleapis.com sts.googleapis.com run.googleapis.com artifactregistry.googleapis.com cloudresourcemanager.googleapis.com serviceusage.googleapis.com --project "$PROJECT_ID"04Create Service Account
echo "Creating the Service Account: ${SA_EMAIL}..."
gcloud iam service-accounts create "$SA_ID" \
--display-name="Otoshek Terraform Cloud deployer 2"05Grant roles
echo "Granting necessary IAM roles..."
for ROLE in \
roles/run.admin \
roles/artifactregistry.admin \
roles/iam.serviceAccountAdmin \
roles/iam.serviceAccountTokenCreator \
roles/iam.serviceAccountUser \
roles/iam.workloadIdentityPoolAdmin \
roles/resourcemanager.projectIamAdmin \
roles/serviceusage.serviceUsageViewer
do
  gcloud projects add-iam-policy-binding "$PROJECT_ID" \
    --member "serviceAccount:${SA_EMAIL}" --role "$ROLE" >/dev/null
done
echo "Roles granted successfully."06Generate a key (shown once)
KEY_FILE="$(mktemp -t ${SA_ID}-key.XXXXXX.json)"
gcloud iam service-accounts keys create "$KEY_FILE" \
  --iam-account "$SA_EMAIL"

echo "========================================================================="
echo "COPY THE FOLLOWING CREDENTIALS:"
echo "========================================================================="
echo "GOOGLE_CREDENTIALS=$(cat "$KEY_FILE")"
echo "GCP_PROJECT_ID=${PROJECT_ID}"
echo "========================================================================="
rm -f "$KEY_FILE"The output will look like this:
GOOGLE_CREDENTIALS={
  "type": "service_account",
  "project_id": "your-project-id",
  "private_key_id": "abc123...",
  "private_key": "-----BEGIN PRIVATE KEY-----\n...",
  "client_email": "otoshek-tfc-deployer-2@your-project.iam.gserviceaccount.com",
  "client_id": "123456789...",
  "auth_uri": "https://accounts.google.com/o/oauth2/auth",
  "token_uri": "https://oauth2.googleapis.com/token",
  "auth_provider_x509_cert_url": "https://www.googleapis.com/oauth2/v1/certs",
  "client_x509_cert_url": "https://www.googleapis.com/...",
  "universe_domain": "googleapis.com"
}
GCP_PROJECT_ID=your-project-idAll set
GOOGLE_CREDENTIALS=<JSON from step 6>GCP_PROJECT_ID=<value from step 7>GCP_PROJECT_NUMBER=<value from step 7>SERVICE_ACCOUNT_EMAIL=<value from step 7>